Add existing VM to AVD on Azure Stack Local

It’s actually pretty easy to set up “unsupported” AVD configurations for Azure Stack Local (formerly Azure Stack HCI). Suppose you have two HCI clusters: one has the resource bridge, the other doesn’t. In that case, you can’t create AVD VM templates on the cluster without the bridge, at least not via Azure Portal. Doing it by hand actually works; the only requirement is that the resource bridge has a direct line of sight to the VM in the other cluster. This also makes it possible to add "existing" VM's on a supported configuration to AVD
Our own resource bridge is in a vegetative state. Don’t ask me how or why. We can’t access it, but it still works perfectly. Part of the inherited infra we got
Im not going to go over setting it all up, im only going to give a quick guide on setting up an existing VM to connect to an AVD Host Pool. Feel free to try any other configuration and share it with me :).
Prerequisites
First make sure you have your Pool, Application & Workspace ready. Don't forget the Resource Brige if you have Azure Stack Local.
Prep VM
Now we prep the existing VM you want to add to AVD.
- Make sure the Resource Bridge can access the VM over the default RDP port, also make sure you have an MDM policy that allowes RDP connections to the machine. Follow a reputable hardening guide to secure this system with ACL, NLA, Strong Ciphers etc etc. Even if it's behind a gateway still act like it's directly attached to the world.
- Download the Azure Virtual Desktop Agent and the Azure Virtual Desktop Agent Bootloader. The installers can be downloaded directly to the VM or saved locally for multiple (automated) installations. The files can be downloaded directly from Microsoft here:
cached downloads directly from my server if MS has DNS issues again:
- Open the first installer (Azure Virtual Desktop Agent MSI), click Next, accept the license terms, and click Next. Then you have to enter the registration key to connect the VM to the Host Pool.
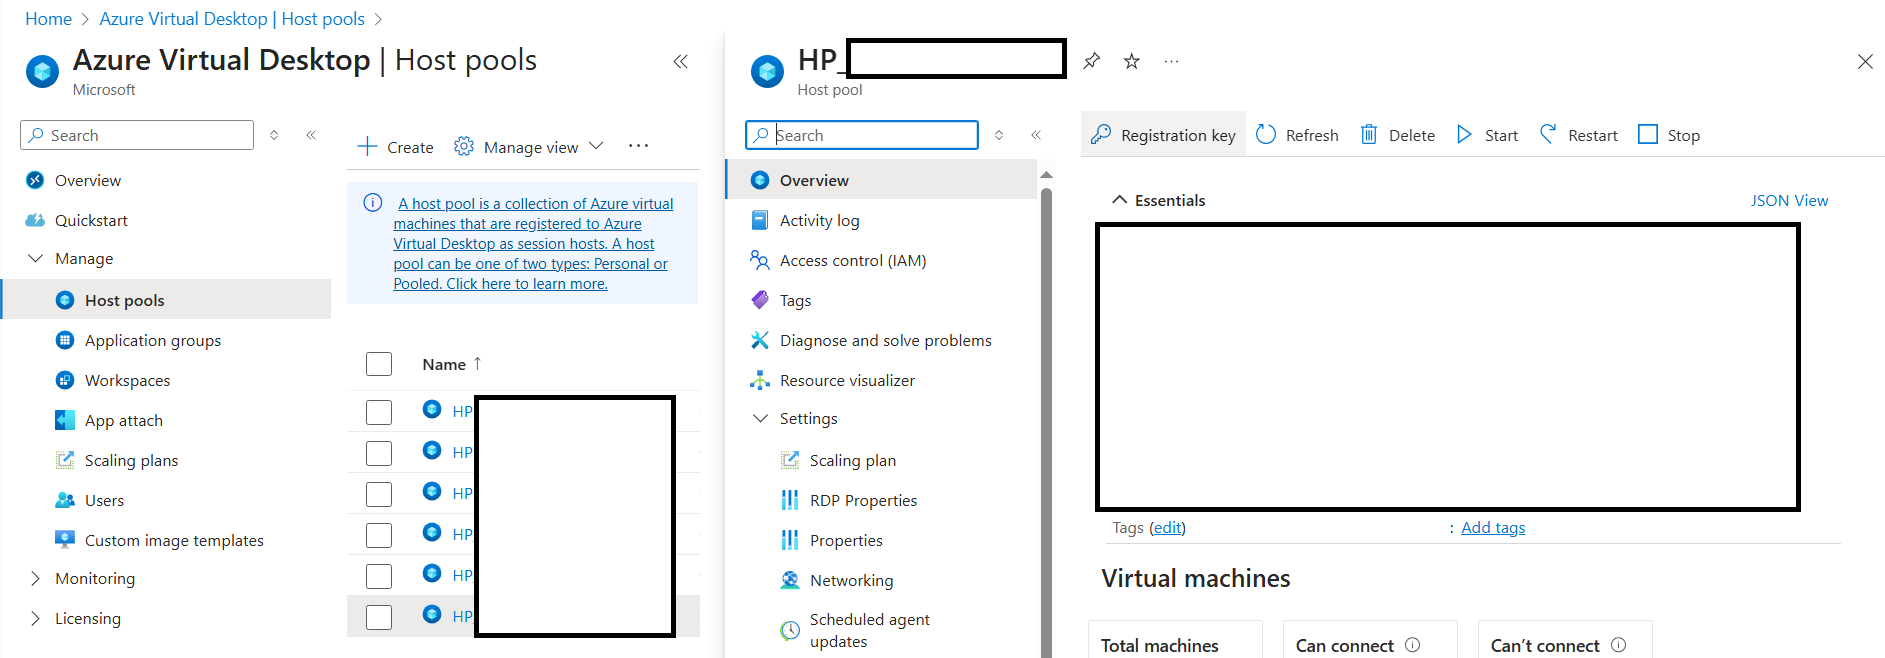
- To get this key log in to Azure, select the Host pool and in the Overview area, click on the Registration key and download or copy the key.
- Open the Azure Virtual Desktop Agent Bootloader MSI installer, click Next, accept the license terms and then click Next and Finish.
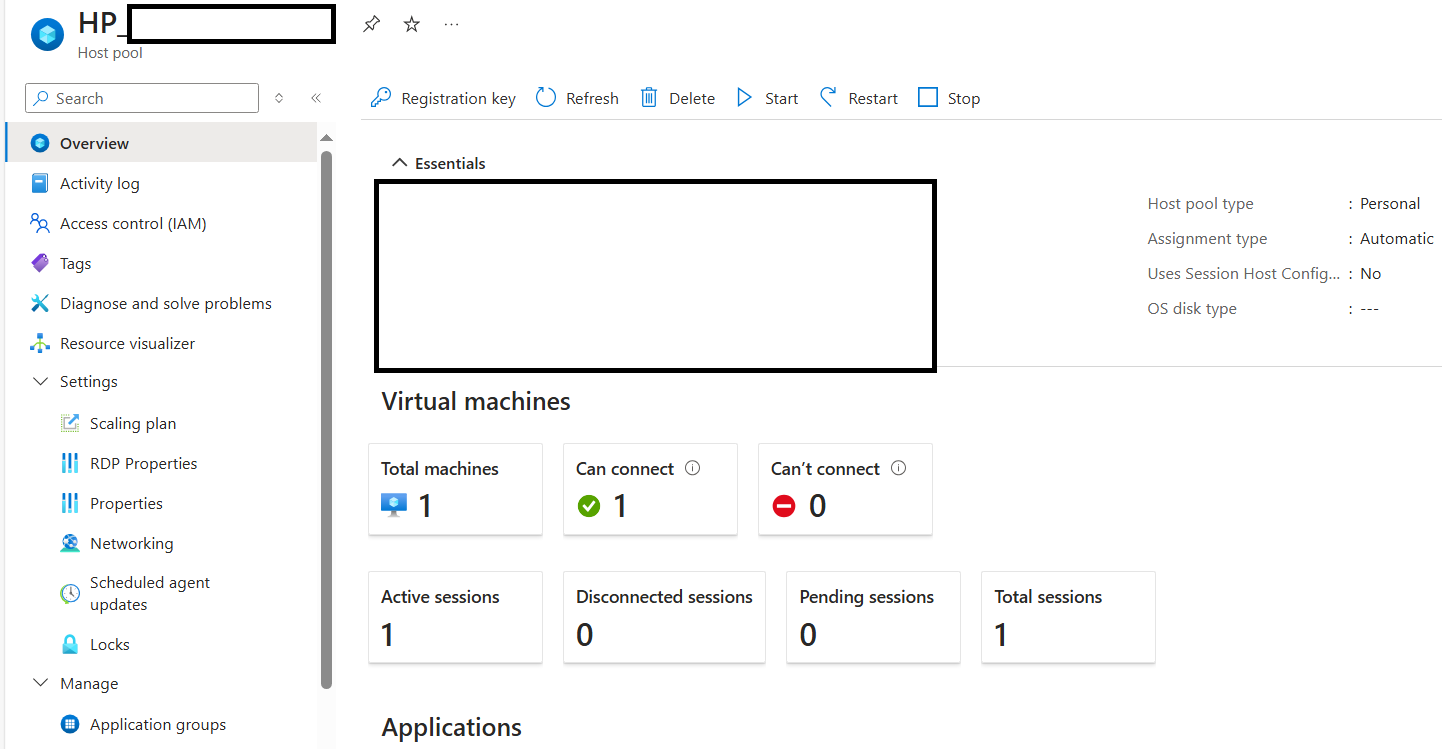
- After a short time, the virtual machine will be listed as a session host in the host pool.
The status of the session hosts might initially appear as Unavailable. If a newer agent version is available, it's upgraded automatically.
After the status of the session hosts is Available, restart the virtual machines.
If you need you can automate using the Get-AzWvdHostPoolRegistrationToken PowerShell cmdlet and msiexec.exe to install the agents. For more information, see Get-AzWvdHostPoolRegistrationToken.
Result
If all went good you'll now have an existing VM available in the pool as if it was a template setup.
Proost